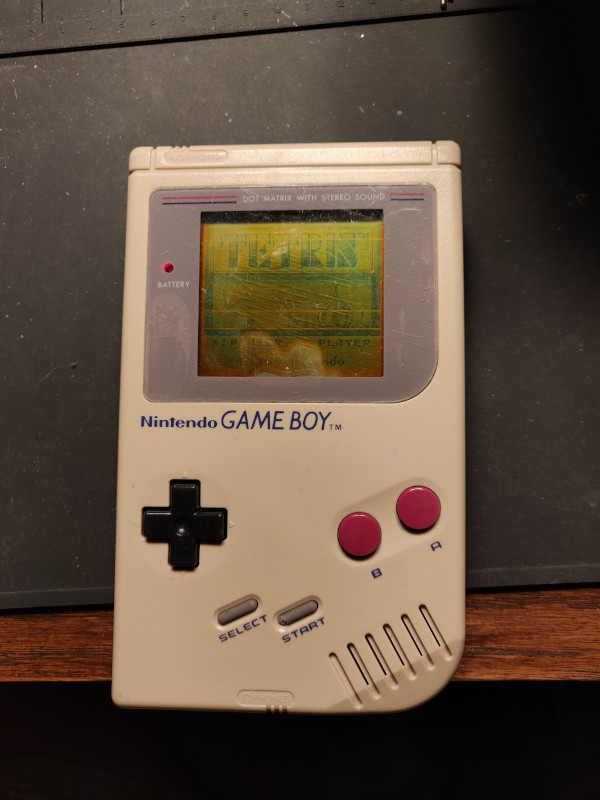
I bought an old original half broken DMG GameBoy on eBay for $20, with the goal of fixing and restoring it to use as a development console. The screen was mostly busted, and the case had seen better days:
For this first pass, the plan was simple:
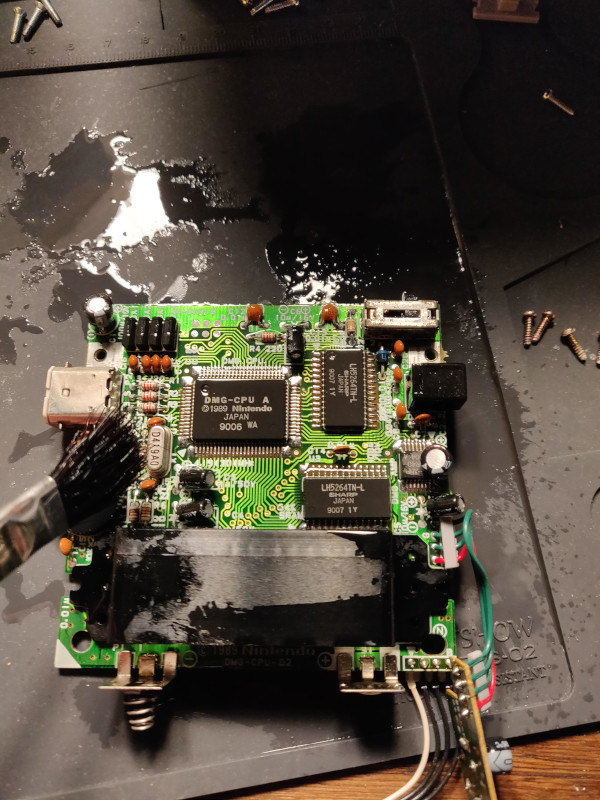
- Clean up any components inside the console. Remove old residue, and restore the components with isopropyl alcohol.
- Replace the screen with a modern LCD IPS screen from Retromodding.
- Replace the outer shell and buttons. I went with something cheap and clean for now.
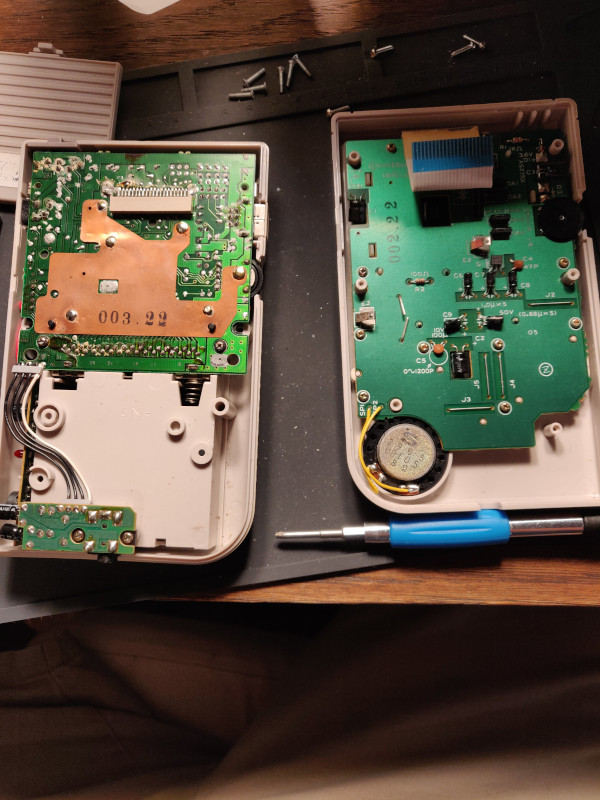
Here it is after opening:
The GameBoy DMG has two PCBs. One PCB has the main system components like the GameBoy SoC, RAM / Video RAM, and the other PCB is for the buttons and LCD mount. Here I’m cleaning the main SoC PCB and components with isopropyl alcohol:
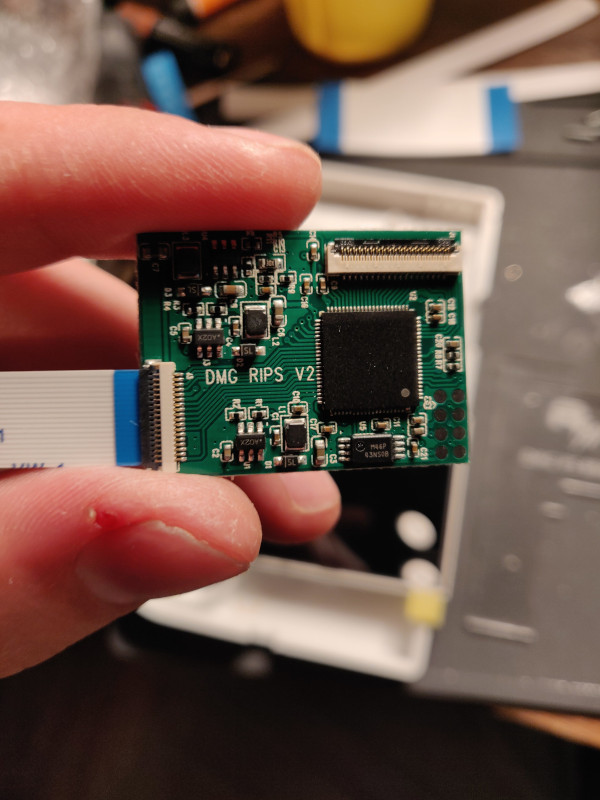
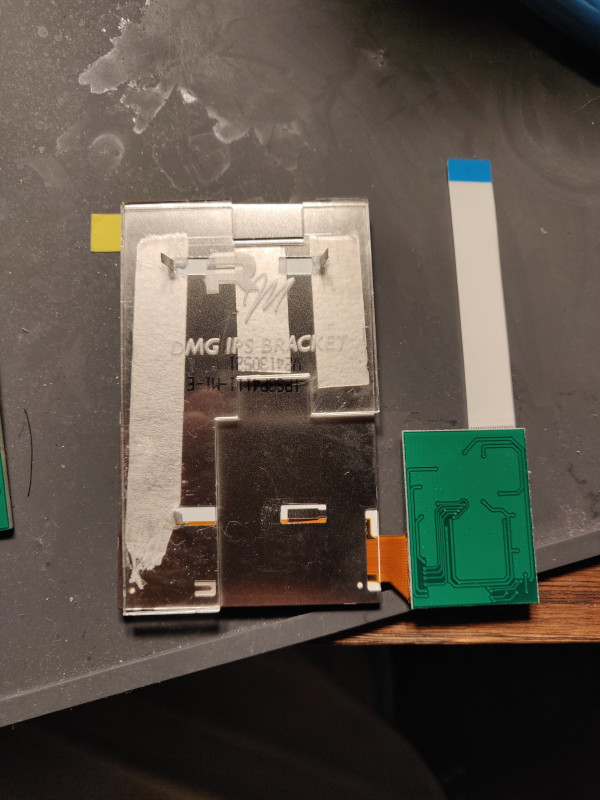
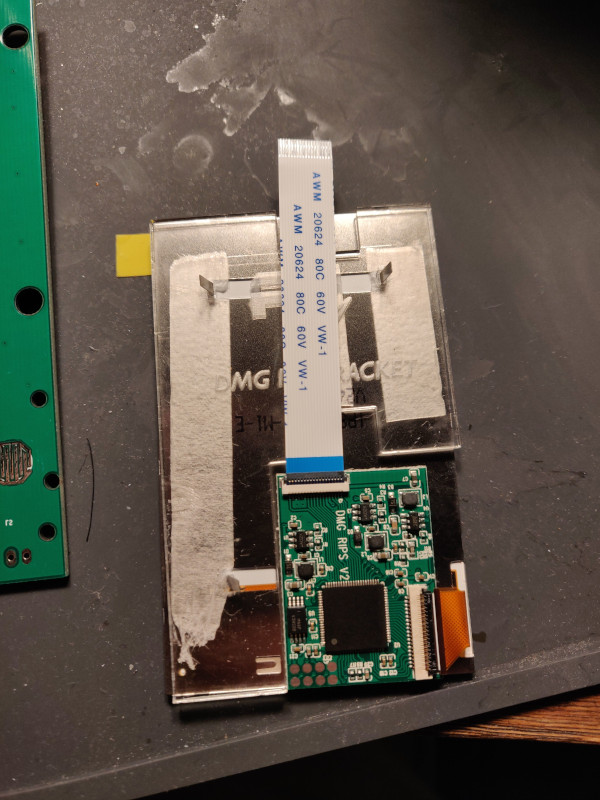
The LCD kit I bought from retromodding includes a PCB that’s used to drive the display. The chip has no markings on it, which I found really curious. I’m not sure what the volume on these kits are, but it seems unlikely that it’s a custom ASIC. Perhaps this main display driver chip is some standard component, but just with the markings removed? The global electronics supply chain is fascinating, so I’d love to know more about what’s going on here:
The LCD driver PCB mounts on the back of the LCD display. Retromodding included a really nice acrylic shield (that appears to be laser cut) to line up and secure everything nicely.
Here it is secured with double sided tape (included in the kit):
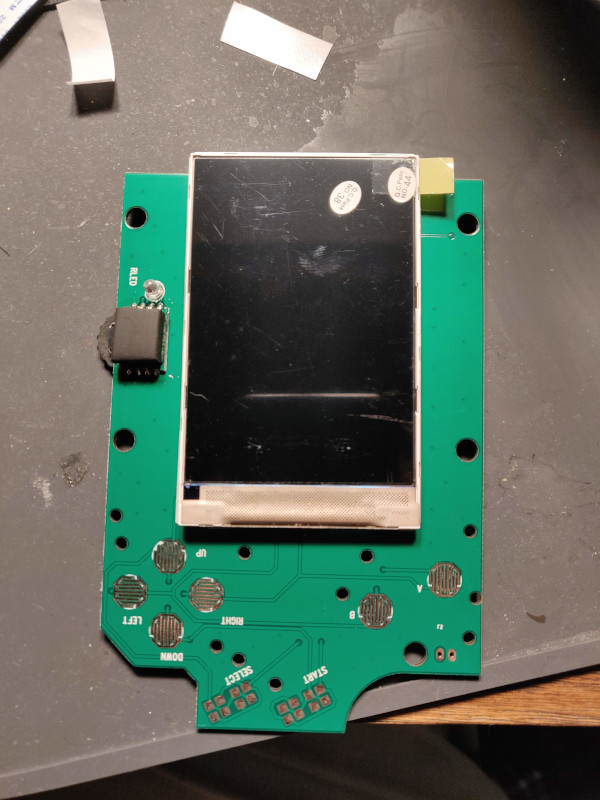
From there, you can mount the LCD display onto the brand new PCB that replaces the existing control / display PCB that comes with the gameboy.
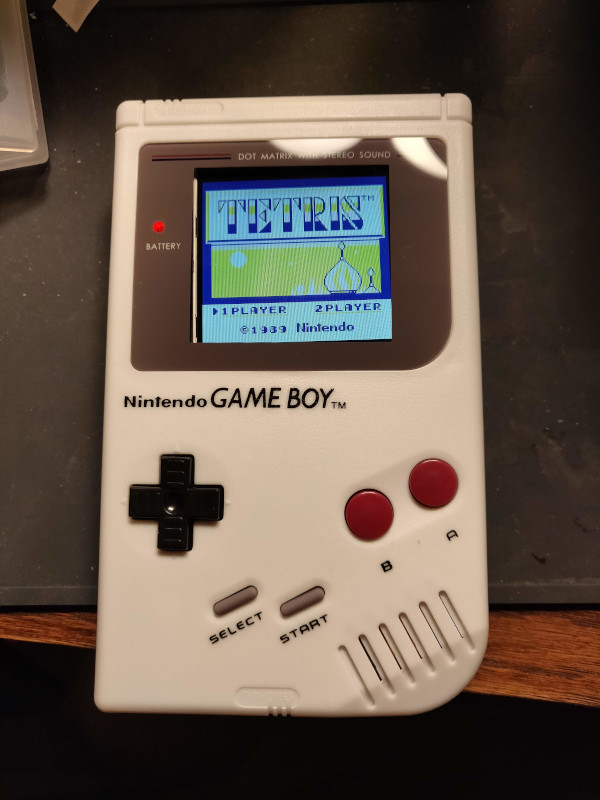
From there, it’s pretty easy to put the main SoC PCB back into the new case, and close everything up:
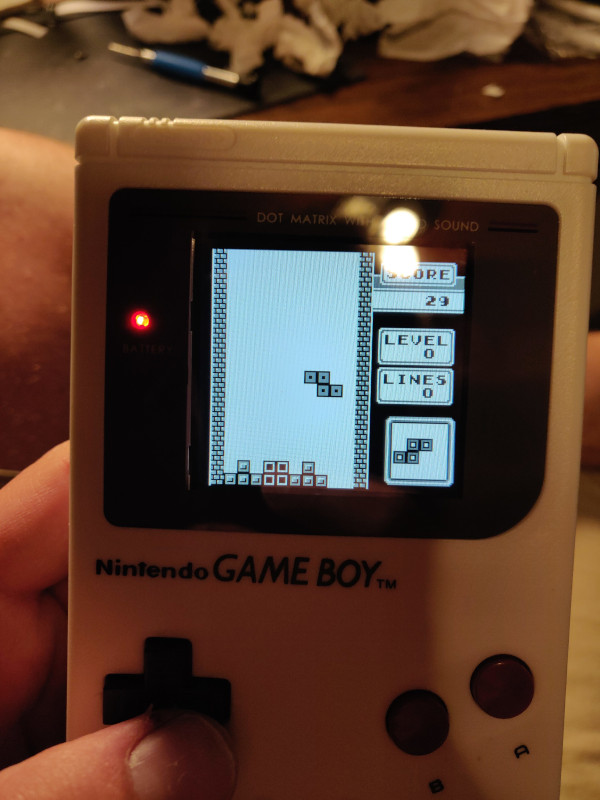
And, of course, you gotta have Tetris. What would life be without Tetris?
I’m currently working on a project to make a custom FPGA based GameBoy flash cart, which has been really fun. I plan on using this GameBoy for testing and verification. I might add some additional modifications to make it easy for me to get access to the cartridge pins on the back of the unit. At some point, I might also install a USB rechargable LiPo battery to avoid wasting AA batteries.
Isn’t restoring old stuff and making it new fun?
Thanks to retromodding for the supplies on this small project. Check them out if you’re looking to restore some of your old retro consoles.
