A few weeks ago, I shipped a mostly complete Breakout / Arkanoid clone called “Brickbasher”, written for the original Game Boy. You can download the ROM here.
The limitations of designing for small and constrained hardware proved to be really fun. You can’t yak-shave too much when you only have 4 bit colors, and 4 basic audio oscillators to work with! I played so many old-school Game Boy games growing up, so it’s been a rewarding nostalgia trip to dive in head first and do what my younger self could only dream of.
At a high level, the tools and building blocks for the project are:
- Game Boy flavored 6502 assembly for all the code, assembled with RGBDS.
- PNG tilemaps for game assets, layed out in Aseprite, and converted into ROM data with my own custom tool called gbtile.
- Music tracked with hUGETracker and played in game with hUGEDriver.
- Testing / emulation with the BGB Game Boy emulator (Ironically, ran via Wine, since I’m a Linux user, and BGB seems to have the best debugging tools I could find)
The game runs on any standard Game Boy emulator, and should theoretically run on real hardware too.
Tools and Hardware Ramp-Up
In today’s modern homebrew world, believe it or not, you can get your hands on a C compiler that targets the Game Boy. C might be considered “low level” these days, but it’s luxurious compared to raw 6502 asm! I wanted to learn by diving down “one more layer of abstraction”, so I chucked the C compiler aside and went straight for emacs and an assembler.
After tool setup, the next big step was getting familiar with the Game Boy hardware and how it works. There are great manuals floating around that go through the important details of the Game Boy hardware. About a year before Brickbasher, I built a very rough webasm Game Boy emulator in Rust, which was another great way to get familiar with the inner workings of the system.
Tutorials
I used this gbdev.io tutorial as a starting point for mapping out the rudimentary game structure. The tutorial walks you through a lot of the basics of Game Boy 6502 assembly, and basic concepts of the Game Boy hardware. You draw tilemaps, take some basic user input, and move the paddle around back and forth. By the end of the tutorial, you wind up with something that looks like this:
You get basic tile drawing, and a small paddle that you can move around, but that’s it. Unfortunately, the rest of the tutorial beyond these basics is incomplete. So now I needed to go off on my own and figure out the rest.
Level Data
The original tutorial showed how to draw the background tiles with the bricks, but it was all hardcoded into the ROM tilemap. I wanted to implement a “level draw” routine that could take input level data, and draw the bricks in the correct locations. Here’s what the level data looks like in assembly ROM:
Level0:
        db 0,0,0,0,0,0
        db 0,0,0,0,0,0
        db 0,0,0,0,0,0
        db 2,2,2,2,2,2
        db 2,2,2,2,2,2
The level data format I came up with is a bit wasteful on space, but gets the job done. Having bricks all be “byte aligned” avoids doing a bunch of bit-level manipulation later on in tight loops (trading data for CPU time). I use a single byte to represent each brick, with a maximum of 5 rows of bricks per level. Each byte counts how many “hits” an individual brick can take, with a ‘0’ representing “no brick”.
From this level data, I wrote a routine that reads through the level data and writes out the brick tiles in the correct locations.
Sprites and Tiles
I wanted to make the original paddle sprite larger, and add a basic bouncing ball. The original tutorial did not include a sprite or tile map, other than the raw converted assembly data for the game. So I recreated the sprites in a PNG based tilemap so I could change things around to my liking:

Background Tilesheet. Individual tiles in Game Boy hardware are each 8x8 pixels wide, which is why Game Boy games usually follow similar “block size” layouts.
![]()
Ball sprite that bounces around the level.

The Paddle Sprite. In the game, this actually uses a total of three 8x8 pixel Game Boy sprites.
I run these PNG images through a small utility I wrote that converts the PNG images into Game Boy sprite and tile data that can be loaded directly into the assembler. The RGBDS toolkit comes with a more feature rich utility to accomplish a similar task, but writing my own simplified tool was a really great way to learn about how the Game Boy represents pixel data down to the bit level.
Collision Detection
By far the hardest part of the entire project was doing collision detection on the limited Game Boy hardware. The Game Boy has no built-in multiplication instructions (read: multiplication in a tight loop is going to be expensive).
I bashed my head against the wall a lot, and settled on precomputing collision lookup tables that store the upper X and Y coordinates of each brick. In retrospect, because there are only a maximum of 30 bricks on the screen, I probably could have just computed the tables “offline” with a calculator, and hardcoded them into the game, but I wanted to figure out how to compute the tables with the Game Boy hardware itself.
I ended up needing to borrow and modify the multiplication routines from the Game Boy C compiler, in order to precompute these tables when the level loads.
Like I said, next time I’m just going to break out the calculator, or a Python script and slap the output directly into ROM data!
Music
I stumbled upon hUGETracker, an old-school style music tracker that can export to a format that’s readable on Game Boy hardware.

My game only has a very basic 4 bar repeating track, but it was enough to learn how to go through the process of getting music into a game via the hUGEDriver asm routines.
After compiling hUGEDriver.asm along with the game code, the routine to initialize the audio track looks like:
InitAudio:
        ;; Turn audio on
        ld a, $80
        ld [rAUDENA], a
        ld a, $FF
        ld [rAUDTERM], a
        ld a, $77
        ld [rAUDVOL], a

        ;; Start playing audio track
        ld hl, first_track
        call hUGE_init
        ei
        ret
And then we just need to tick the audio on a fixed interrupt cycle:
SECTION "Timer overflow interrupt", ROM0[$0050]
    nop
    jp isr_wrapper

isr_wrapper:
    push af
    push hl
    push bc
    push de
    ;; Call into hUGE_dosound to 'tick' the audio
    call hUGE_dosound
    pop de
    pop bc
    pop hl
    pop af
    reti
I didn’t implement any sound effects, but I could reserve one oscillator for effects if I ever get there.
Polish and Finish
Beyond that, I added a lot of the bare bones features necessary to make the game actually playable:
- A life count, and “Game Over” state.
- Multiple levels, and level advancement.
- A “win” state when you get through all the levels.
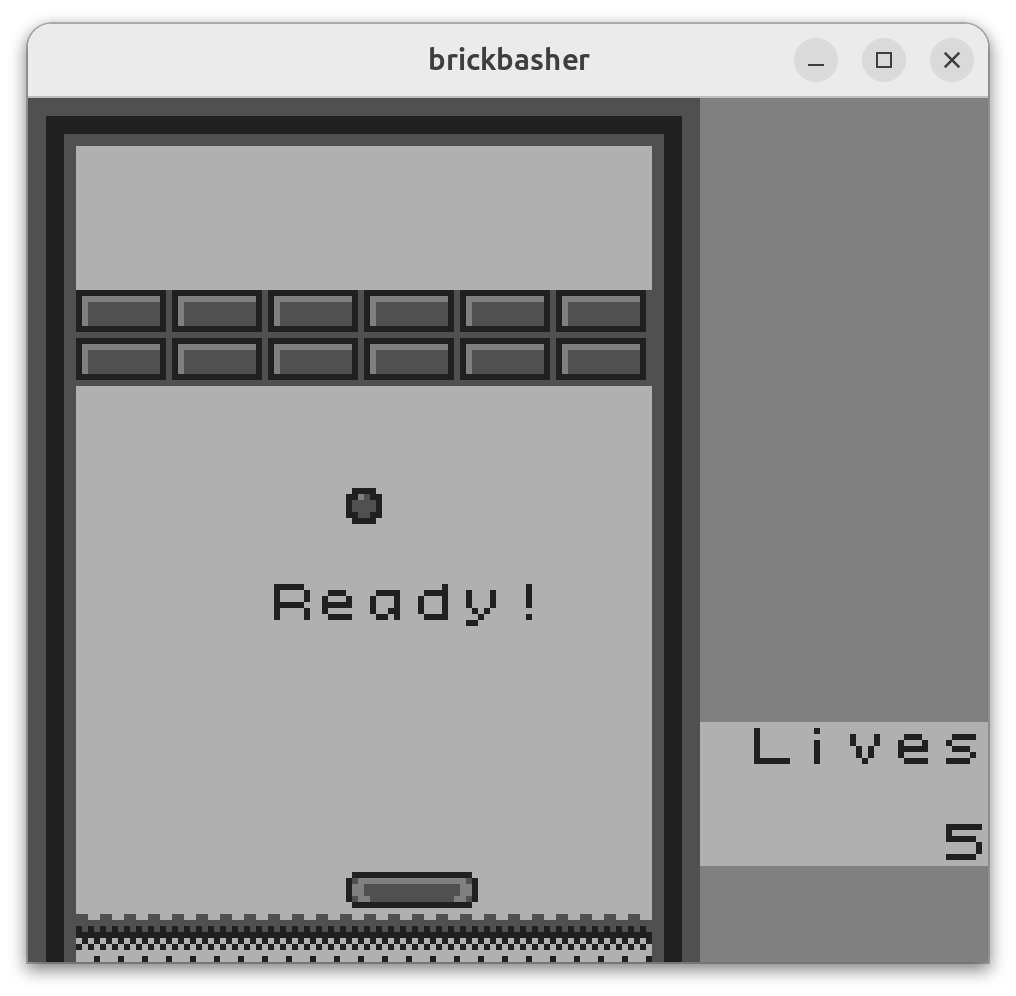
- Ready screens with delays to give you time to orient before the ball starts bouncing around the screen.
Final Thoughts
There’s a lot more polish that’d be fun to add at some point. Logo splash screens, final credits, game sound effects, more music tracks, multiple balls, all would make great additions.
This was a “Big Magic” project: I did it just for fun, to learn, and because creating new things is its own reward. I enjoyed building the game up from raw assembly, and making other tools along the way. The constraints of limited hardware made for new problems that are solvable with trivial one-liners in a modern programming language on modern hardware, but stretched me creatively in unique new ways in 8-bit land.
Feel free to check out the source code on GitHub, and give the ROM a spin in a Game Boy emulator!