This is a blog post in a series on converting a 1978 Puch Maxi Moped from fuel combustion, to electric powered.
Read Part 1 here. Read Part 2 here. Read Part 3 here. Read Part 4 here. Read Part 5 here.
I have two small updates to share in my moped conversion project:
- I fixed the motor shaft problem, have the motor mounted, and the main drive chain on and aligned.
- The battery pack arrived, and successfully took its first charge.
Motor Shaft Fixes
In my last post, I shared some of the challenges I faced with the motor shaft not being long enough to clear the moped frame and align properly with the rear wheel sprocket.
A neighbor friend was able to connect me with a machinist who helped fashion an adapter for the motor shaft (in exchange for a nice bottle of whiskey):


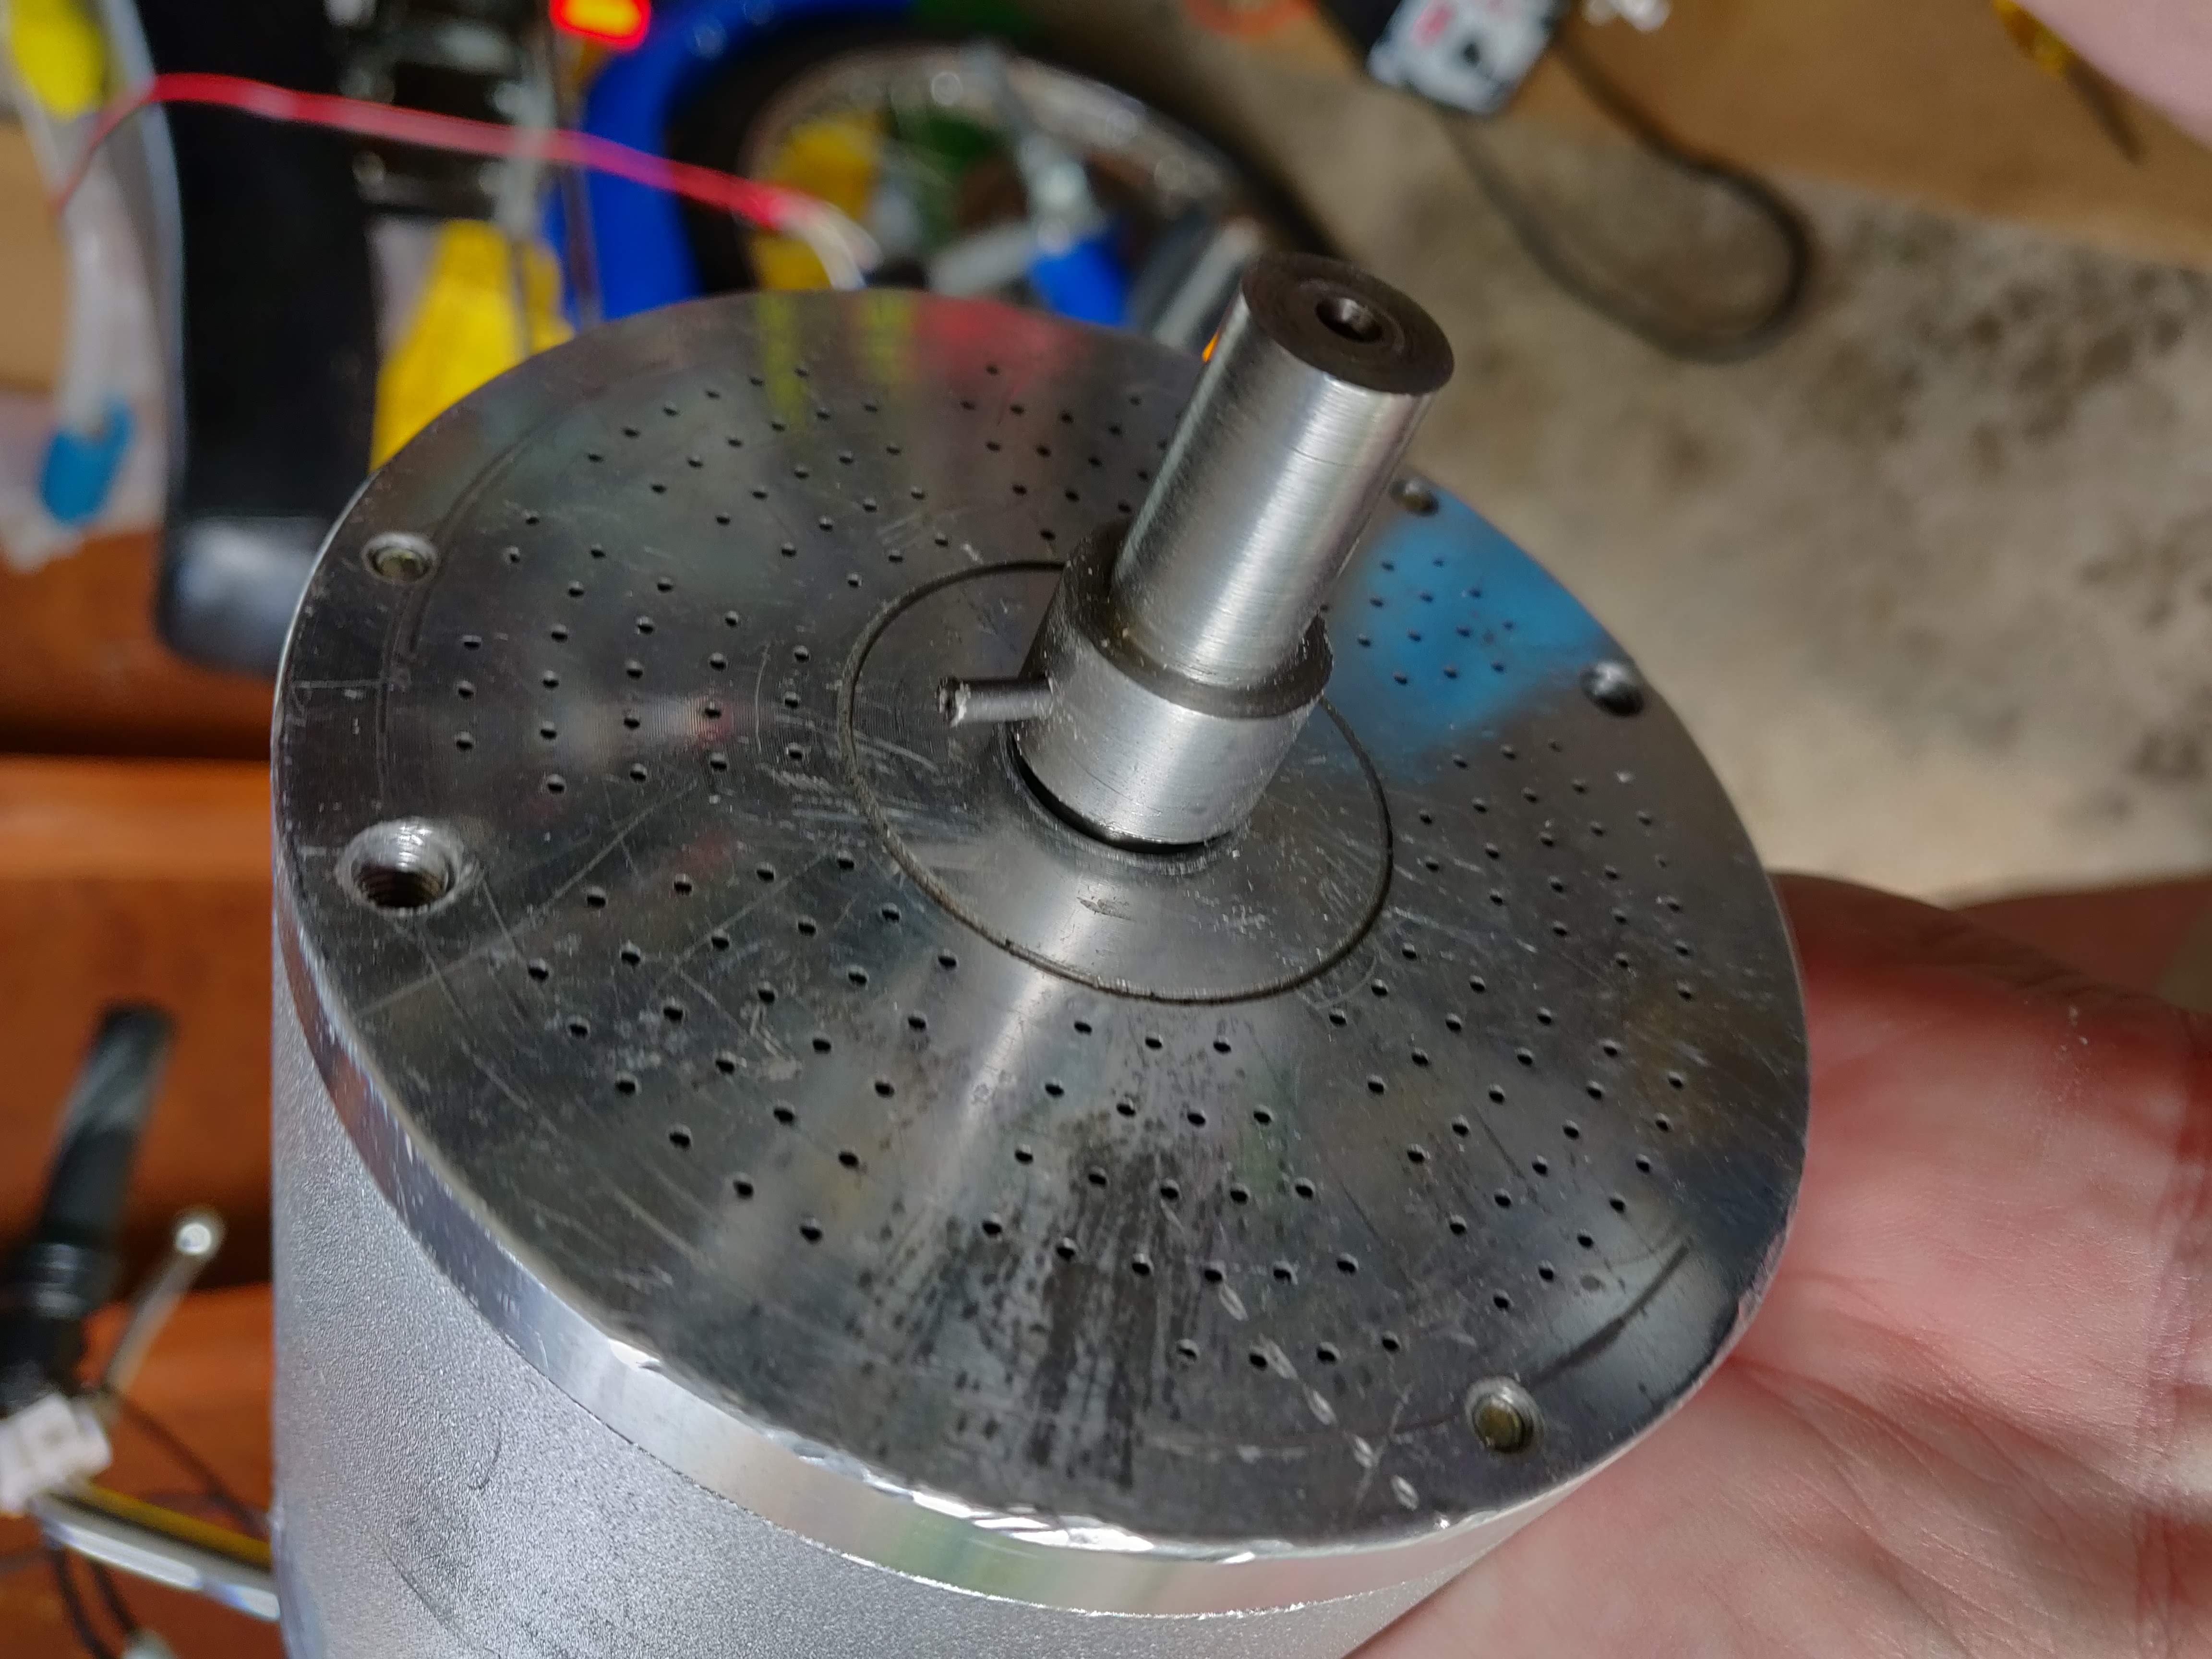
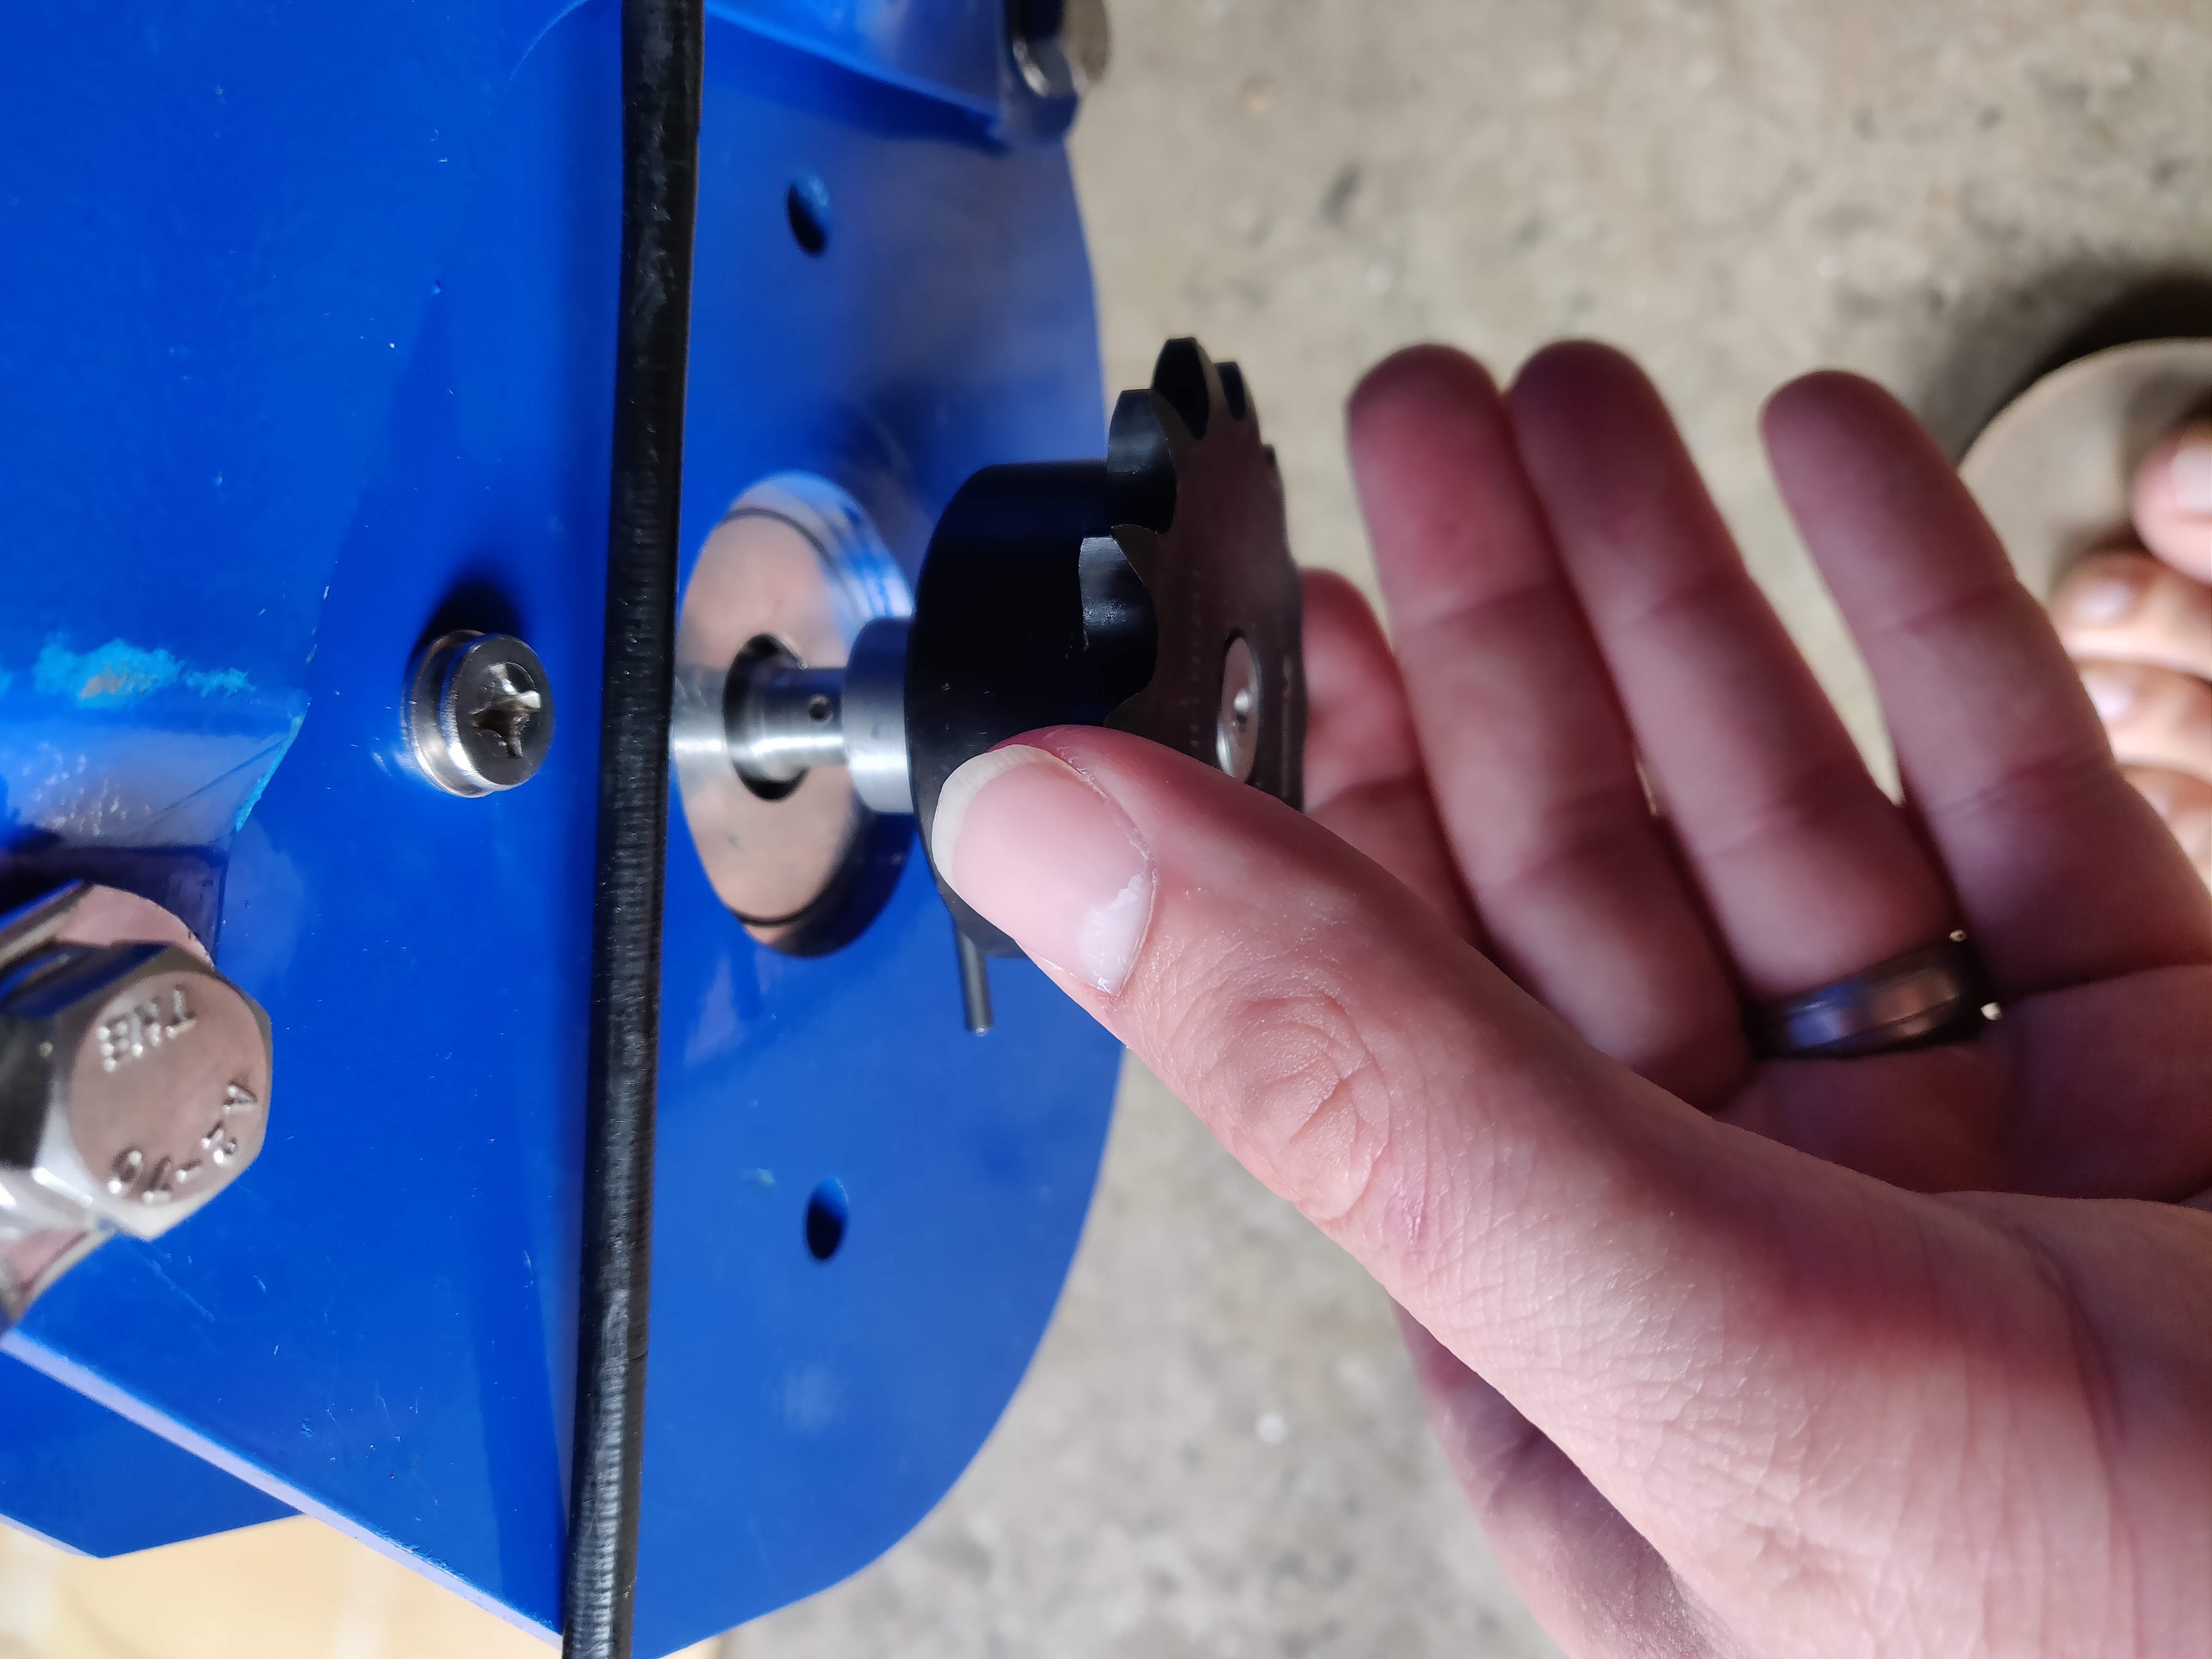
This threads onto existing left-handed shaft, and then has a 3/32” roller pin driven through it to hold the adapter in place.
It also extends far enough out, to line up correctly along the chain line!
A few nice properties:
- The shaft now accepts a standard 1/2” bore sprocket, which are readily available and easy to find.
- In theory, the adapter can be removed, if ever need be. In practice, this is unlikely to ever be necessary.
I’ll need to stress test the roller-pin to make sure it can handle the torque from the motor. If not, I might have to upgrade to stronger pins that can withstand the force. More to come on this front.
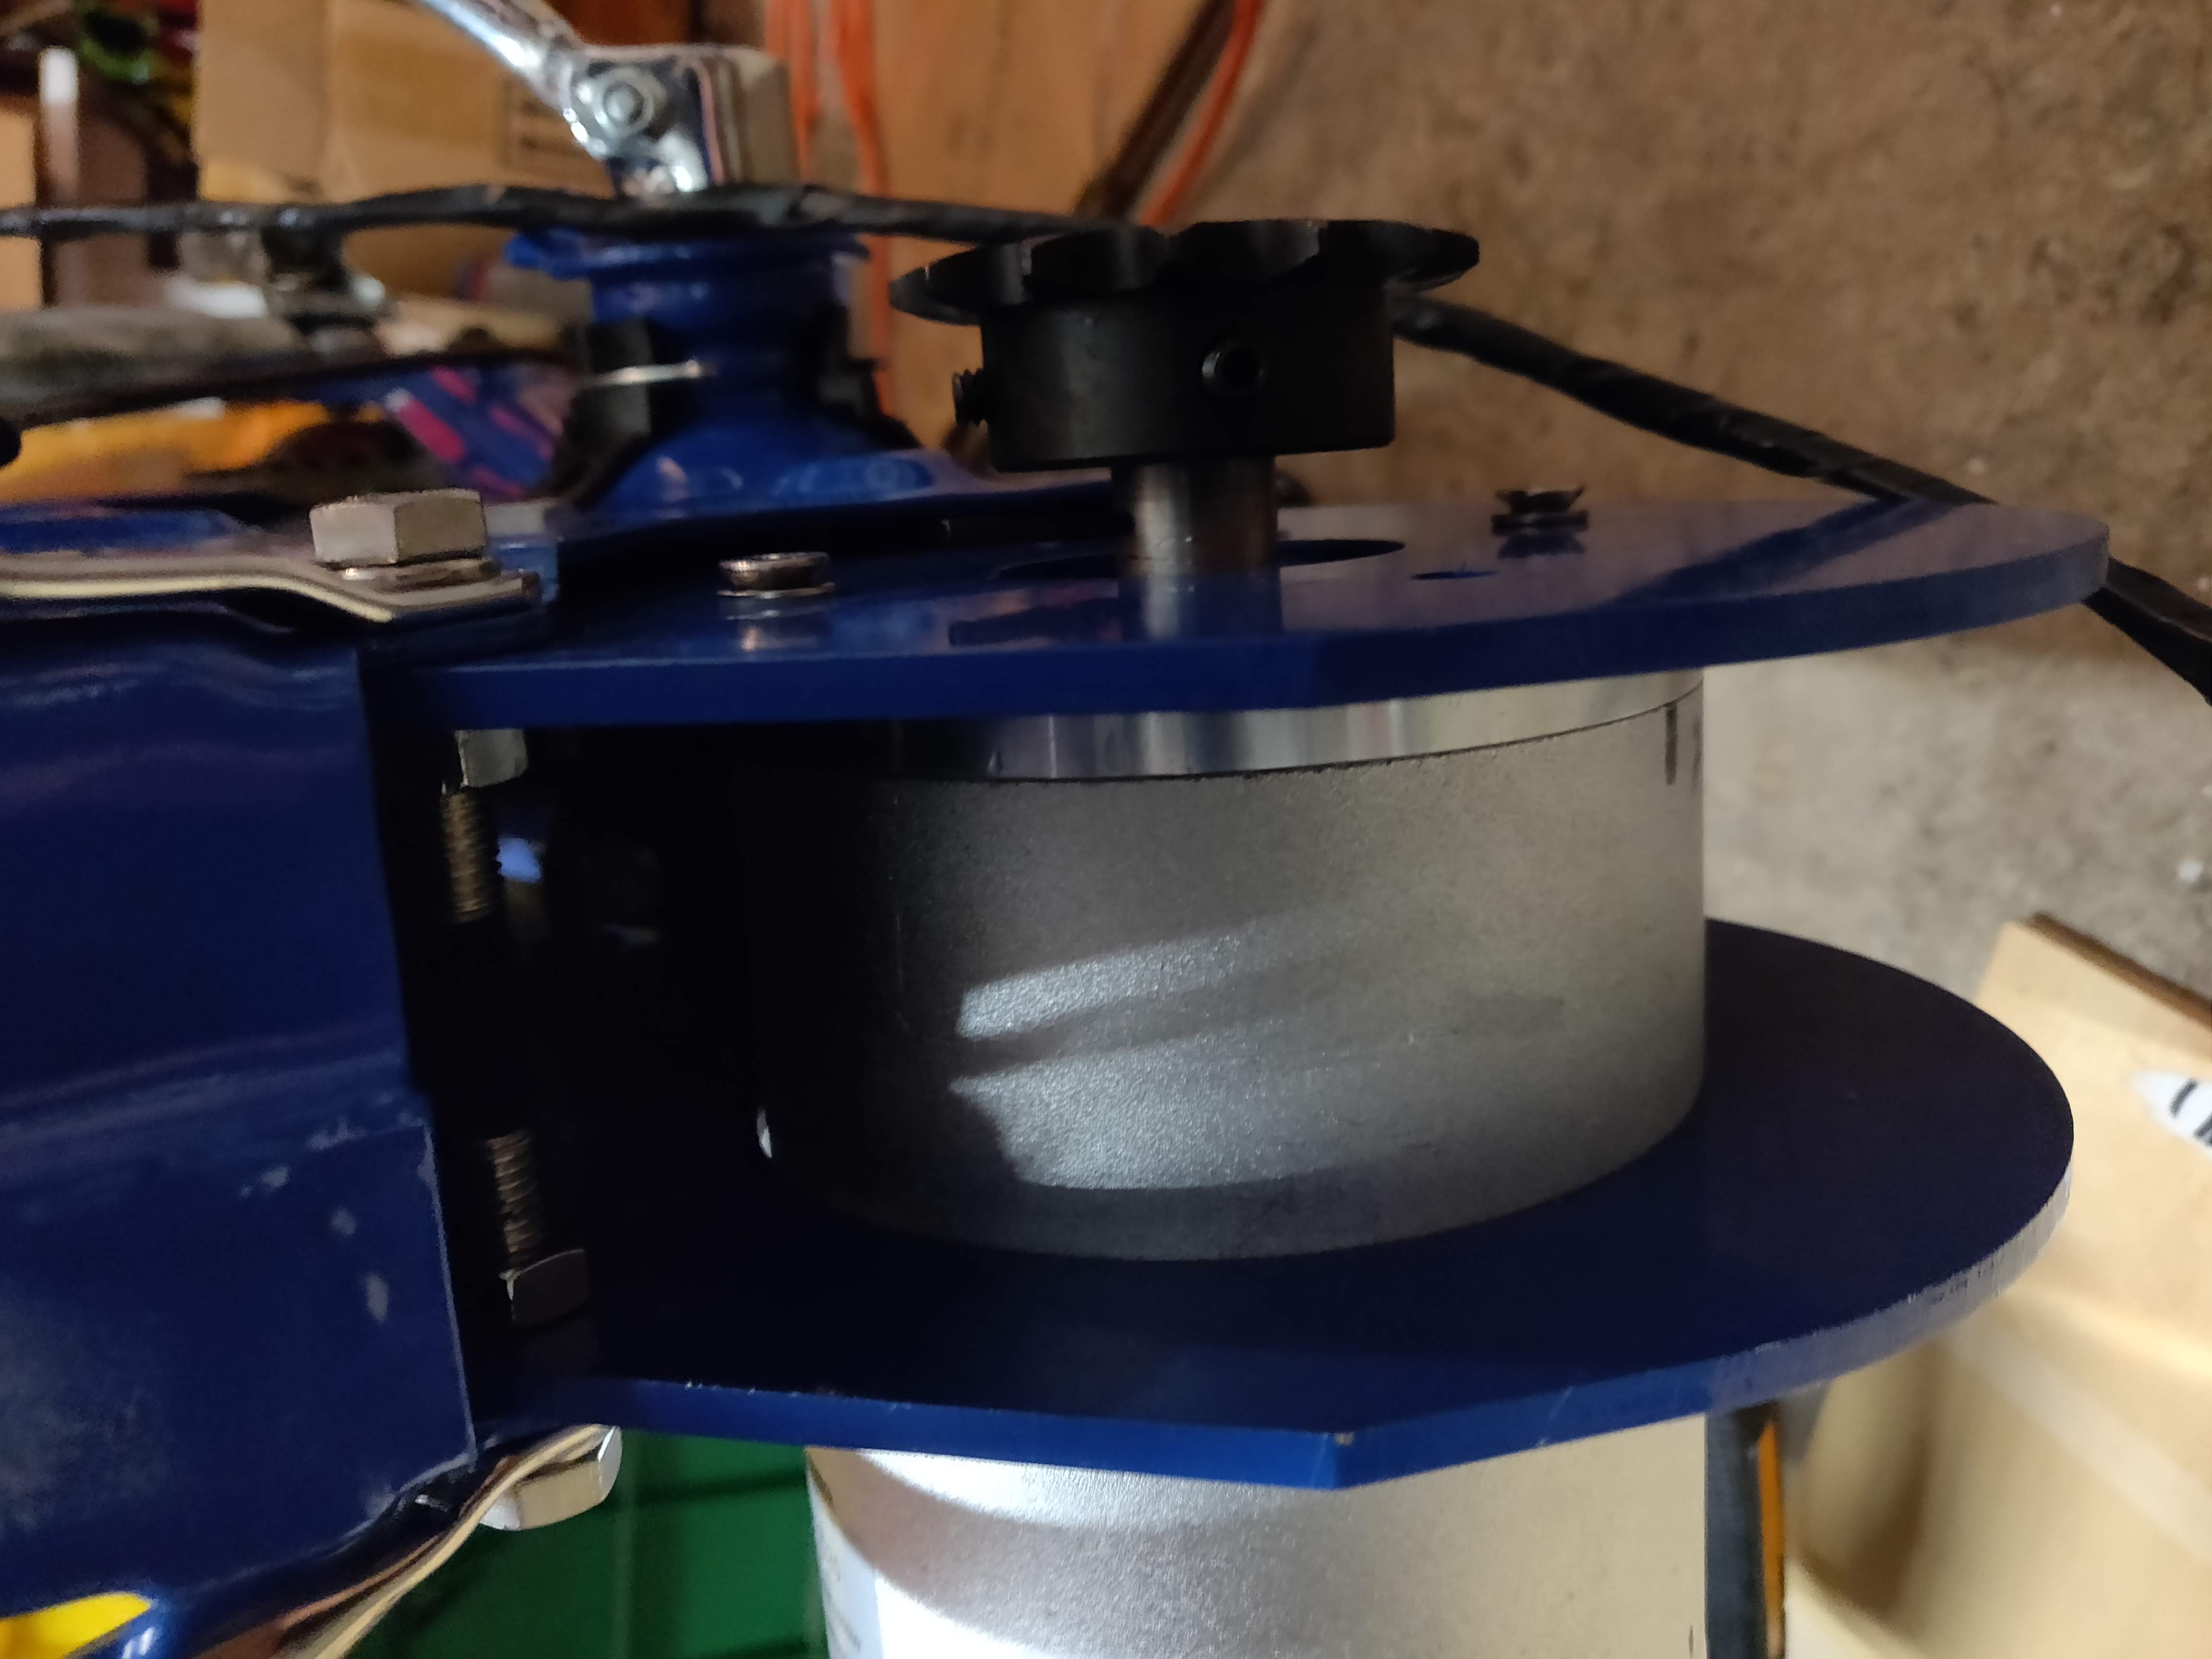
I can’t tell you how good it felt to finally get the main drive chain sized and onto the bike.
Here’s what I ended up using for everything:
- 14 tooth sprocket, for #41 chain size. 1/2” bore.
- 420 sized motorcycle chain. This has the same pitch and roller width as ANSI #41 chain sizes (the sprocket), and the same pitch as a #415 chain, with a slightly larger roller width (which should fit). Puch’s usually come standard with a #415 chain and sprockets.
- The existing rear wheel sprocket. I might eventually replace this with some new stock from Treatland, but not yet.
Figuring out chain sizes was quite frustrating. There are many tables in various parts of the internet, here are the relevant size from the components I mentioned above:
| Chain size | Pitch Inches | Roller Width (in) | Roller Diameter (in) | Pin Diameter (in) |
|---|---|---|---|---|
| ANSI #41 (motor sprocket) | 0.5 | 0.25 | 0.306 | |
| #415 (rear sprocket) | 0.5 | 0.1875 | 0.3125 | 9/64 |
| #420 (drive chain) | 0.5 | 0.25 | 0.3125 | 5/32 |
The most important pieces that need to line up:
- Pitch, the distance between chain pins.
- Roller width, the width of each link. A #420 chain is slightly larger than a #415, so this will work. Smaller width creates a problem.
Mechanical Niceties
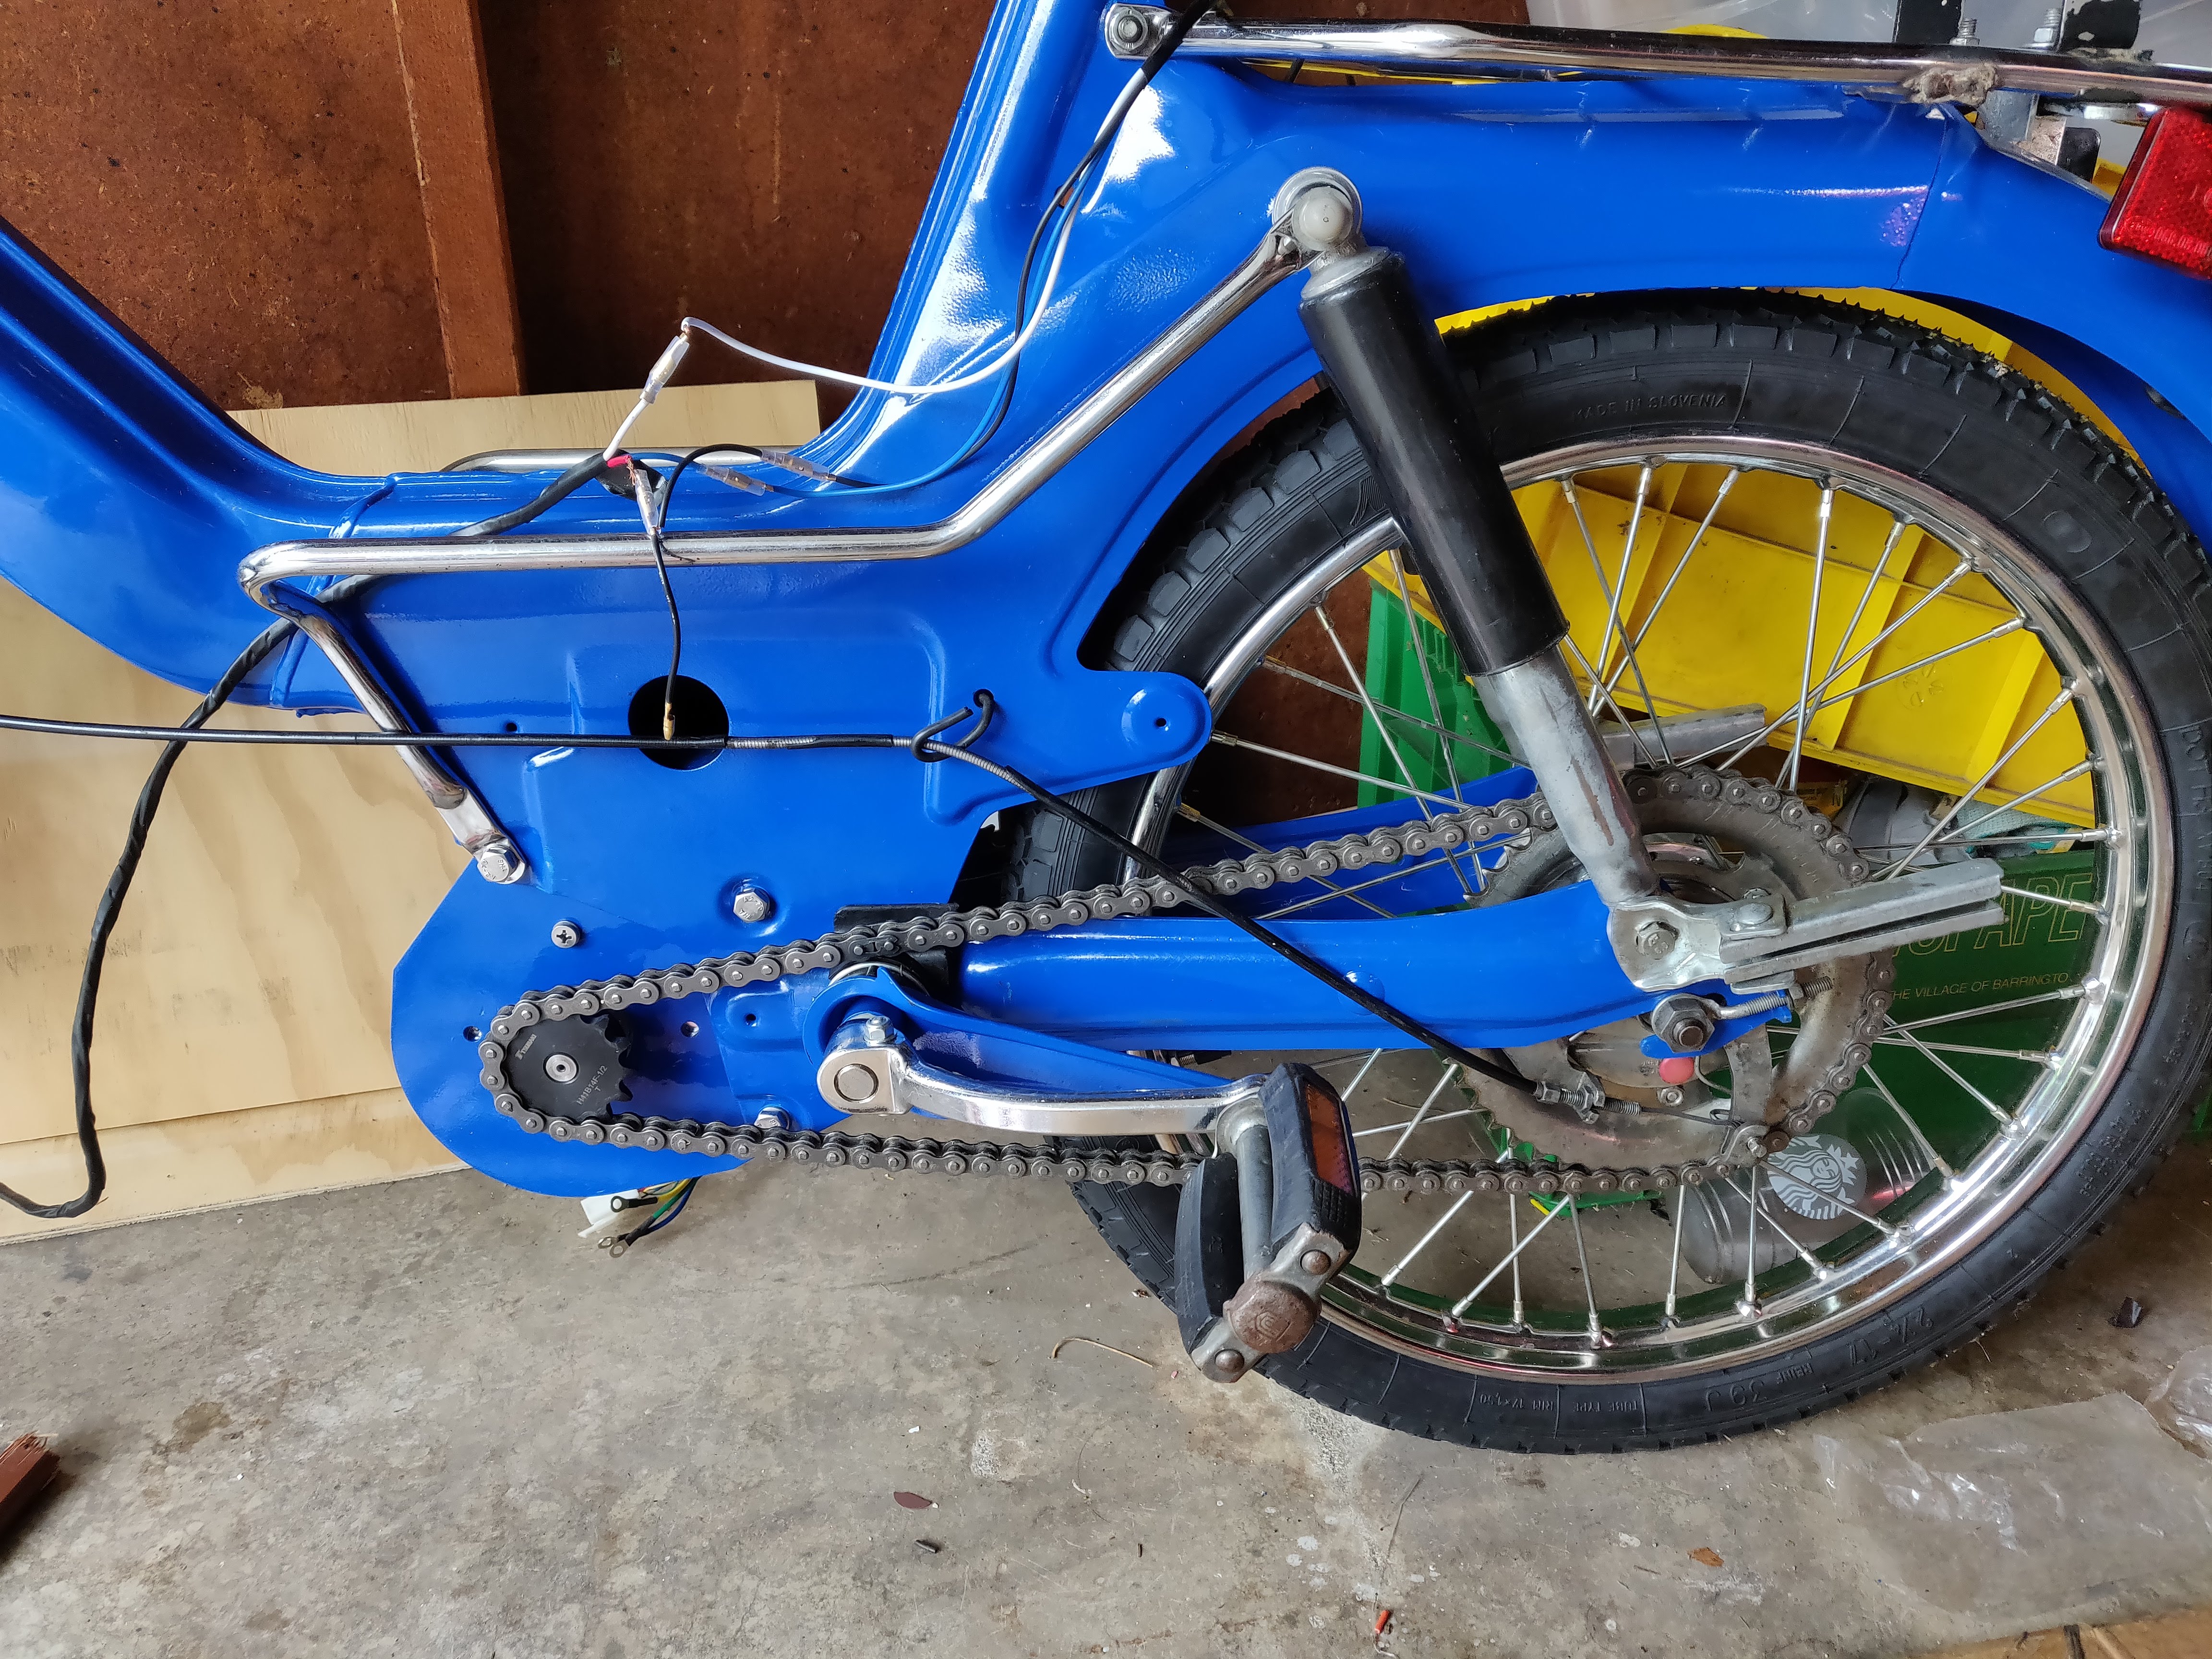
Because the center-stand on the moped was coupled to the motor, I opted to go for a side kick stand that worked quite well.
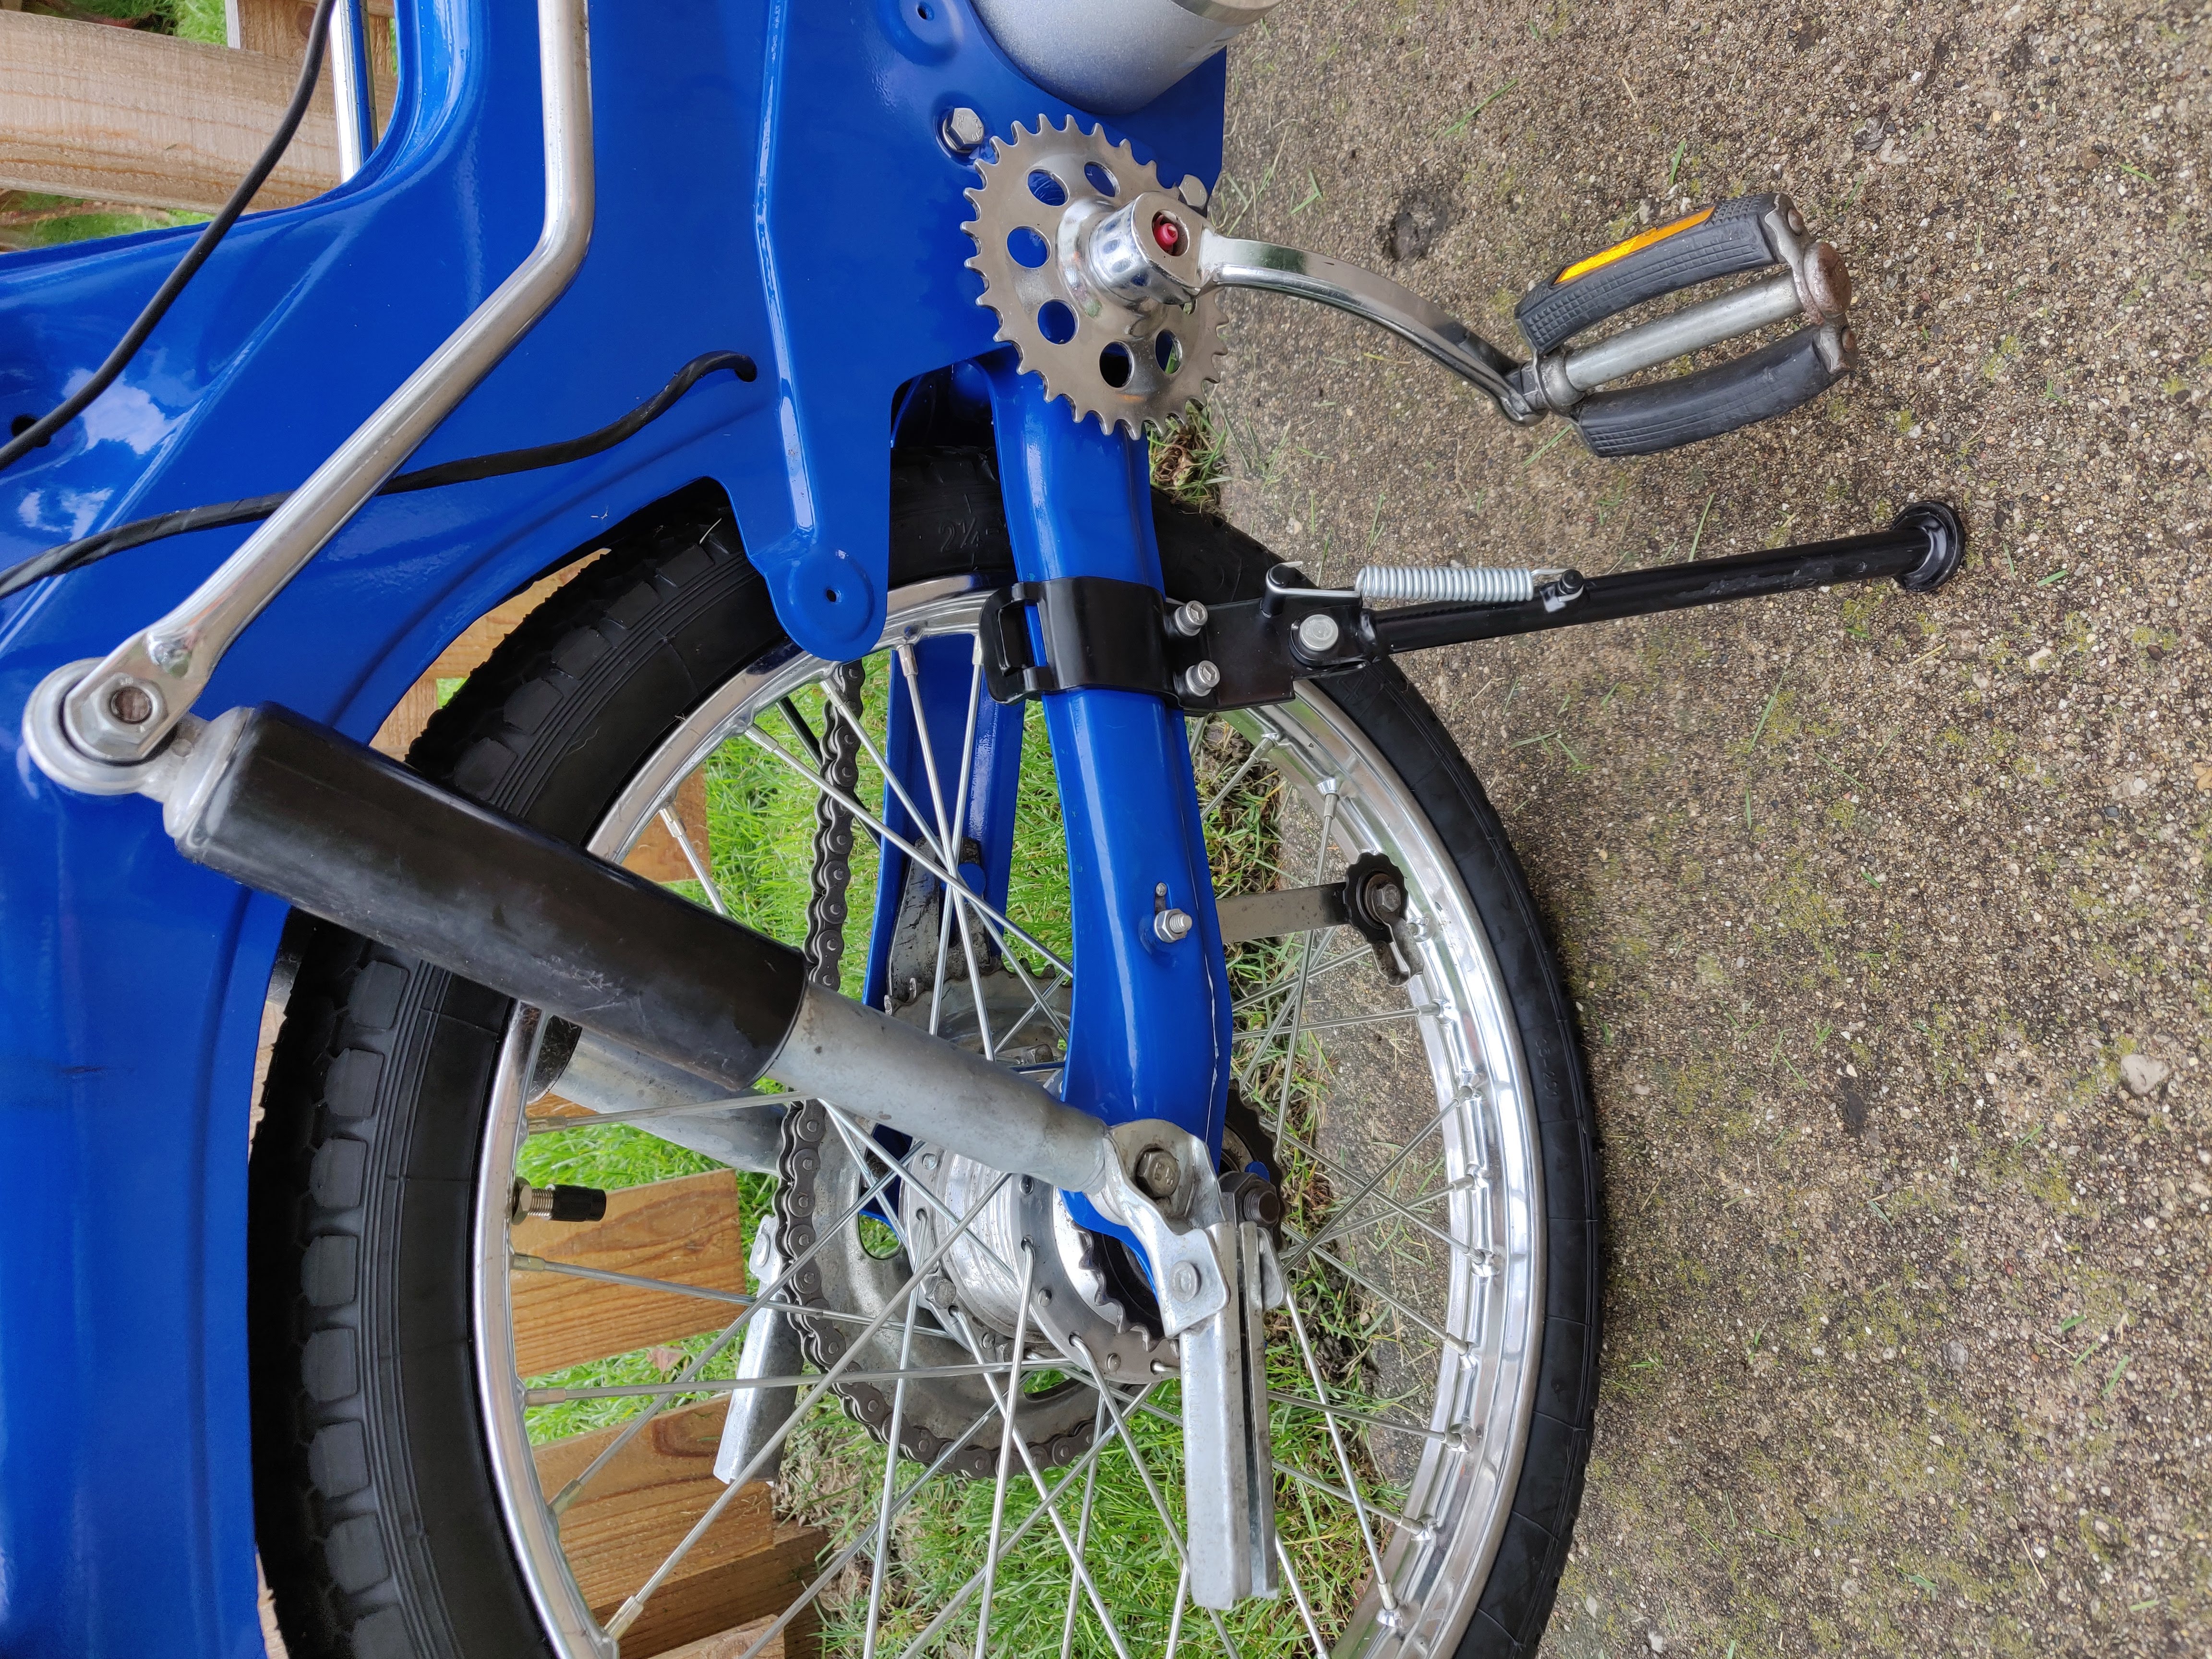
I cleaned up the chain tensioner, and sized up a new pedal-side chain:

The pedal cranks just barely clear the protruding motor. I might need to file / sand down a few places on the pedal cranks to make it consistently clear without accidentally striking anything. This is the downsides of using a bigger motor.
I also replaced the rear brake cable, since the one that came on the bike was broken.
Battery Arrives, Initial Charging
I received the 20 Amp Hour battery that I ordered from AliExpress. It’s fun getting mail direct from China. :-)
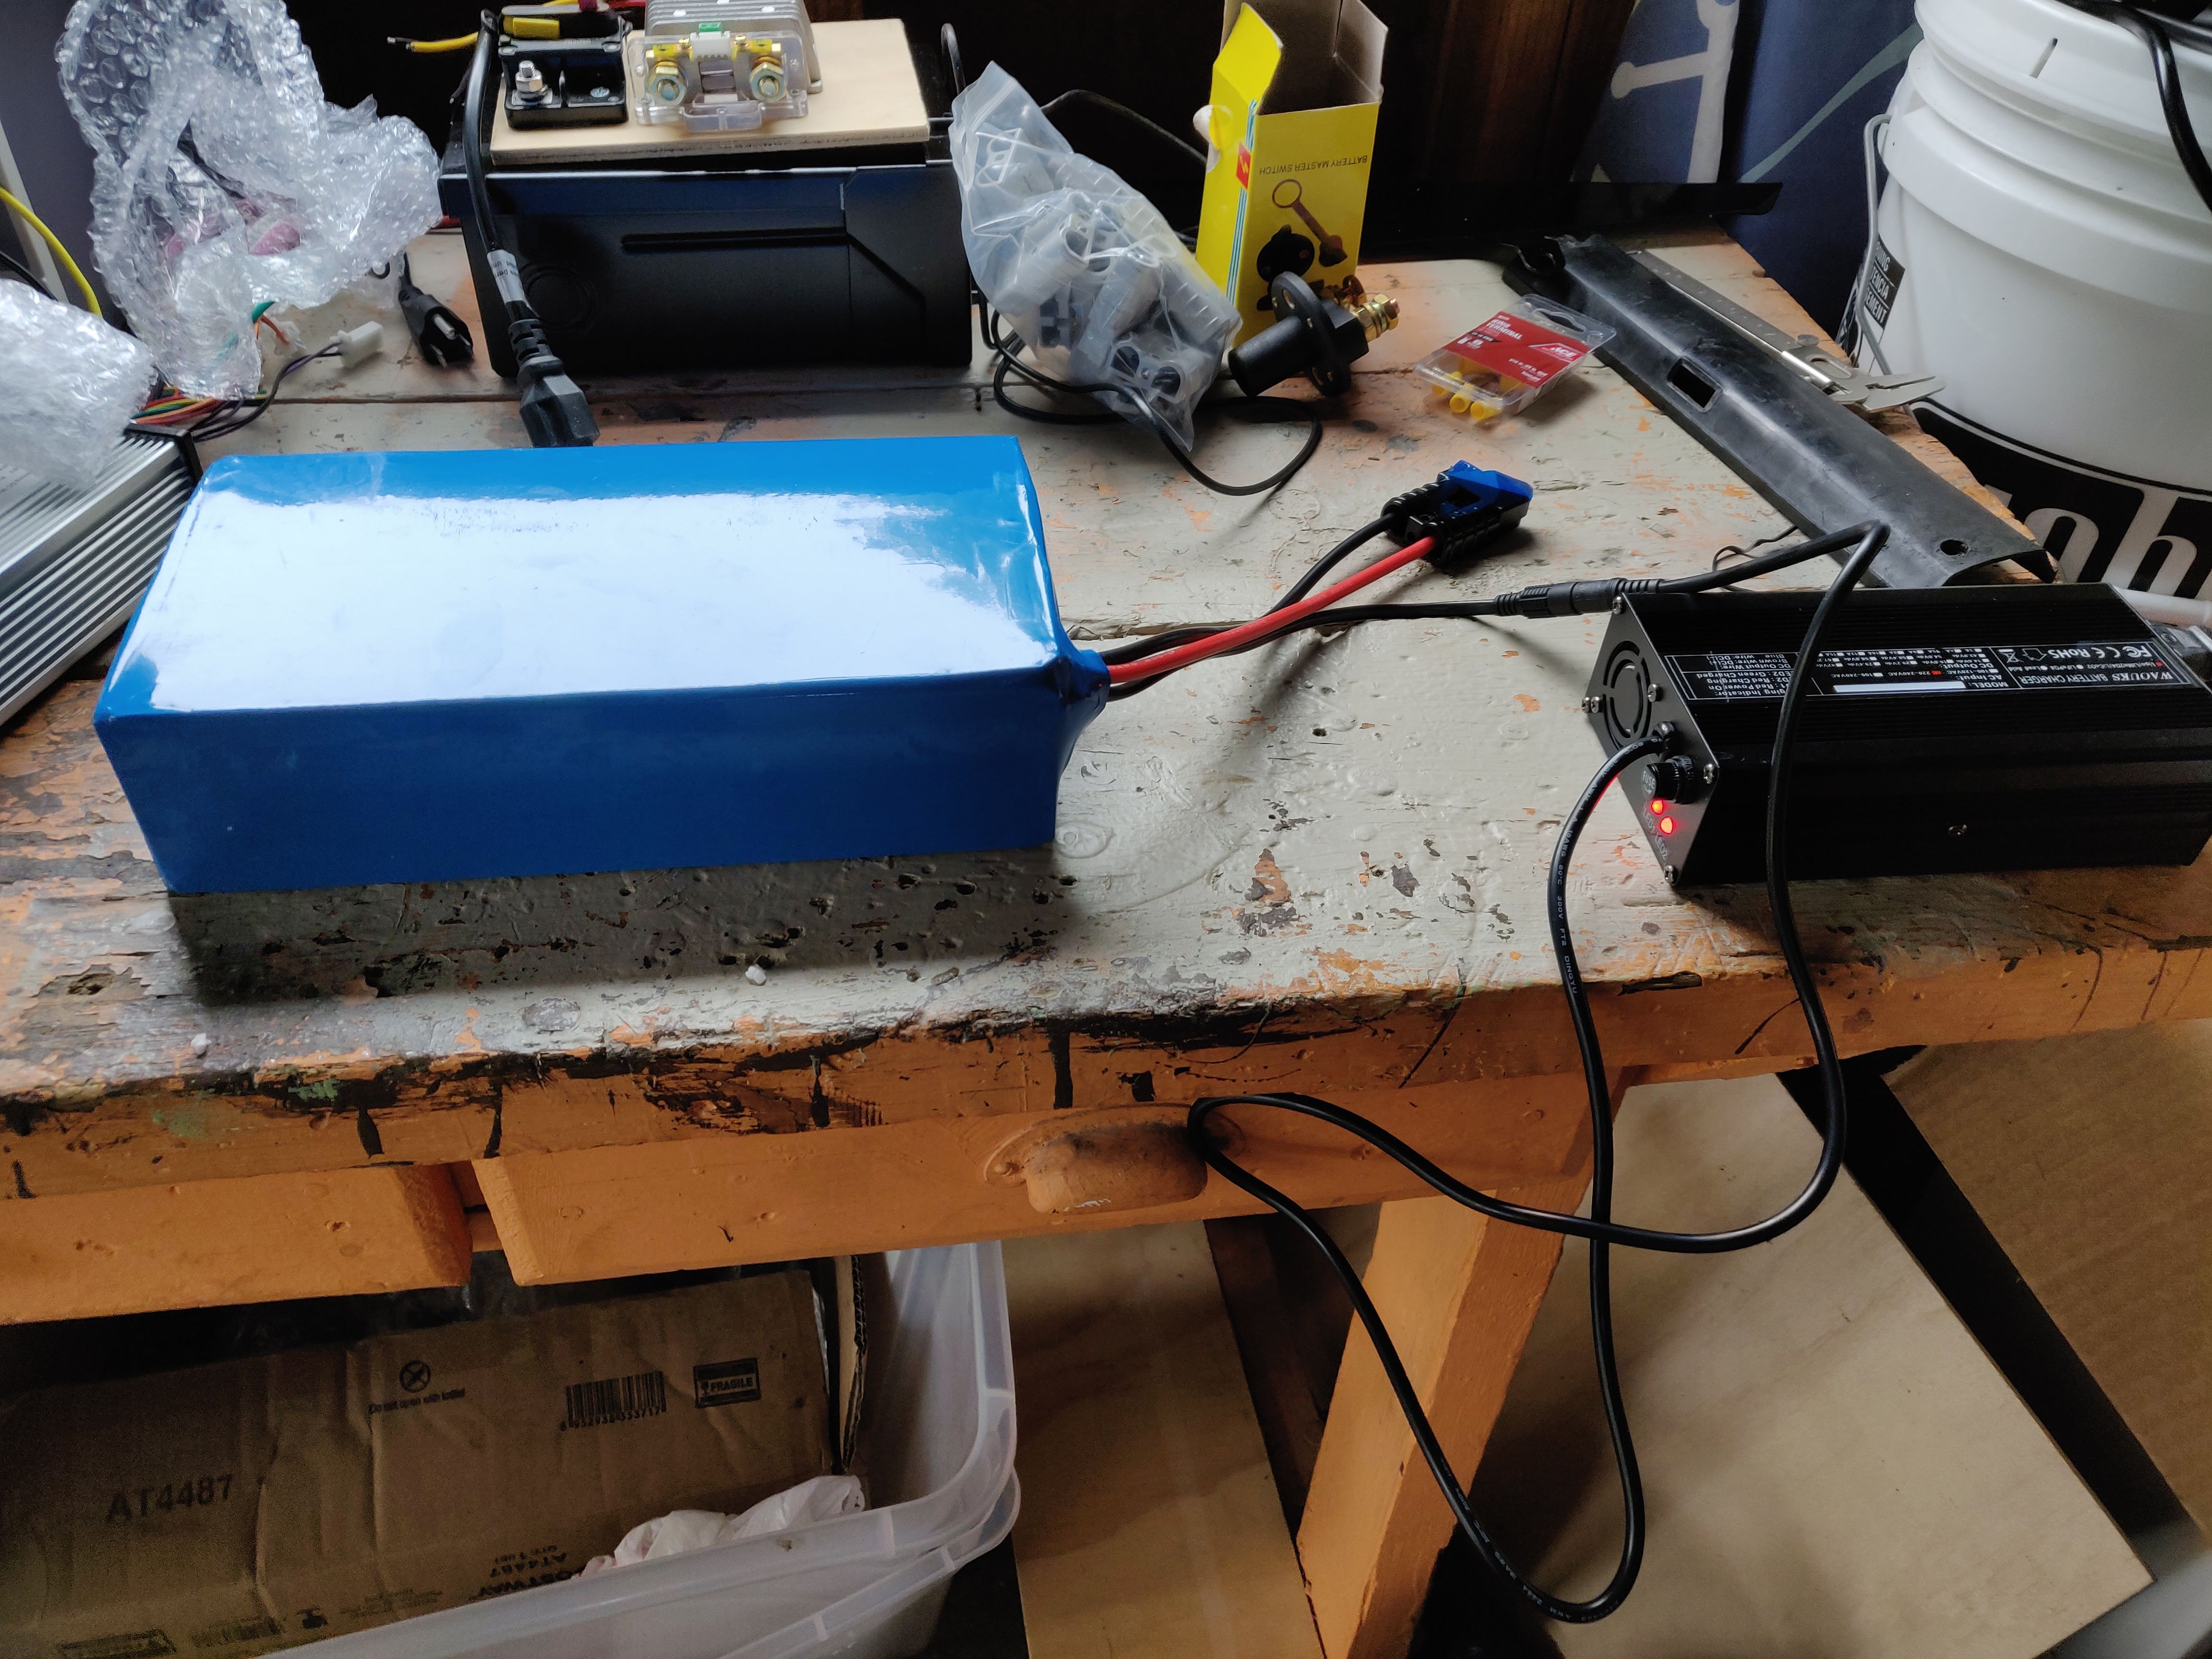
It comes with a 5 Amp charger, so it only took a few hours to charge the battery up fully.
This battery size fits perfectly underneath the seat on the luggage rack. I’ll need to figure out how I’m going to strap / fasten this down for security, and protect it from the elements. More to figure out here.
In the Home Stretch
I need probably a solid day to finish out the electrical wiring for the motor circuit. We’ll see how she runs, stay tuned!
Next: Read Part 5 here.